
Ensuring that your Guiding unit is equipped with the right tents is essential for a successful camping experience. Whether you are gearing up for summer adventures or planning for colder weather, here’s a comprehensive guide to help you purchase tents for your unit.
1. Determine Tent Requirements
When purchasing tents for your Guiding unit, it’s essential to consider a few key factors. First, determine the number of tents needed by assessing the unit size, group dynamics, and potential future growth. Smaller tents (2-4 people) offer individual comfort and privacy, while larger tents (6-8 people) foster community and are often more economical.
Start by assessing your unit’s needs:
- Number of tents needed
- Capacity of each tent
- Type of tent (season, material, weight)
- Budget per tent
Choosing the Right Tents for Different Units: A Guide for Guiders
When it comes to camping with different age groups, the choice of tent can make a big difference in comfort and safety. Whether you’re guiding Sparks, Embers, Pathfinders, or Rangers, selecting the right tent is key to a successful and enjoyable camping experience.
Spark and Ember Units
For our youngest units, Spark and Ember, we typically opt for larger tents that provide enough space to stand up and move around. These spacious tents are crucial because Guiders cannot sleep in the same tents as the youth. Instead, we set up these large tents to accommodate all or some of the unit, allowing us to arrange our own tents around the larger tent to form a protective circle. This setup creates a safe environment where Guiders are nearby to help with any nighttime needs, such as a wet sleeping bag or offering comfort until sleep comes.
Guide-Level Tents
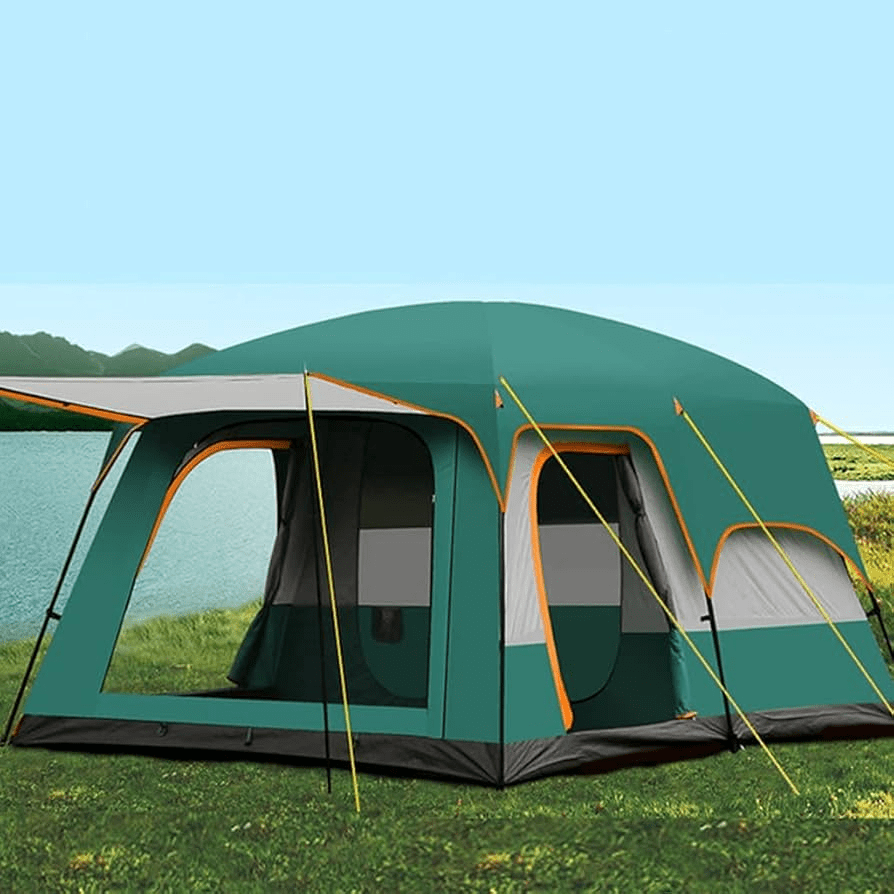
Guide Tents are often large 4-person dome tents. From my experience, although I haven’t personally led a Guide-Level unit, these tents seem to provide the best comfort and space for the girls. The size is perfect for their needs, allowing them to stretch out and feel at ease.
Pathfinders and Rangers
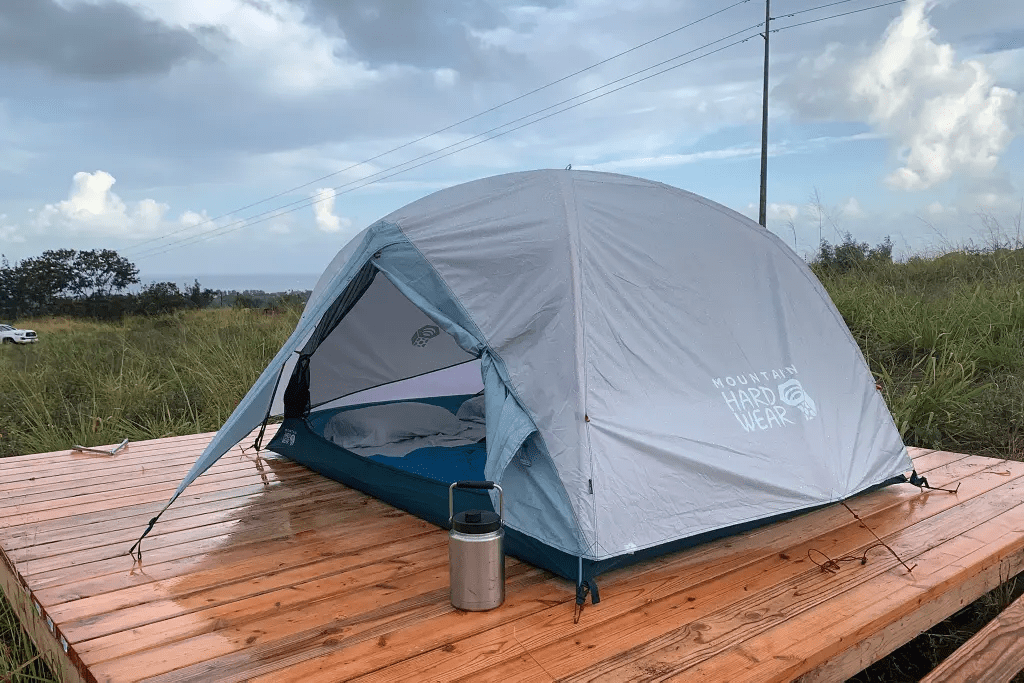
For Pathfinders and Rangers, tent selection becomes more nuanced and depends largely on the type of activities planned. My units use a mix of large cabin-style front-country tents and smaller backpacking tents and hammocks. I prefer larger 3-4 person backpacking tents for these groups. They are still manageable for the kids to carry, usually weighing only 1-2 lbs per person. While these tents are great for front-country camping, they don’t offer the same standing room as cabin-style tents, which might be a drawback for longer stays, such as a week at camp.
Choosing the right tent helps ensure that everyone has a comfortable and enjoyable camping experience. By considering the needs of your unit and the type of activities planned, you can make an informed decision that enhances the overall adventure for your group.
An important consideration when choosing larger tents is discussed in our post, To Full Fly Or Not to Full Fly In this post, we cover the risks and benefits of budget-friendly, larger frontcountry tents like Coleman or Woods, with a particular focus on the importance of a full rain fly. Controversially, it may not be so important!
2. Research Tent Options
Begin your research:
- Conduct online research to read reviews, ratings, and specifications
- Consult with experienced Guiders or outdoor equipment specialists
- Visit local outdoor equipment stores for hands-on inspection
Here are some of the sites we use when we begin our gear searches:
3. Compare Tent Features
Evaluate different tent options based on:
- Size and capacity
- Weather resistance (waterproofing, wind resistance)
- Ease of setup
- Durability and materials
- Weight (important for backpacking)
When it comes to camping, choosing the right tent can make all the difference in your outdoor experience. There are many types of tents available, each designed to suit different needs and preferences. Here’s a quick overview of the main types:
Dome Tents: These are popular for their stability and easy setup. Their semi-circular shape helps resist wind, and they often offer good headroom.
Tunnel Tents: Known for their elongated shape, tunnel tents provide more living space and are often favored for family camping. They can be a bit more challenging to set up but offer excellent weather protection.
Cabin Tents: Ideal for family camping, cabin tents are spacious with vertical walls that maximize interior space. They often come with multiple rooms and are great for extended stays.
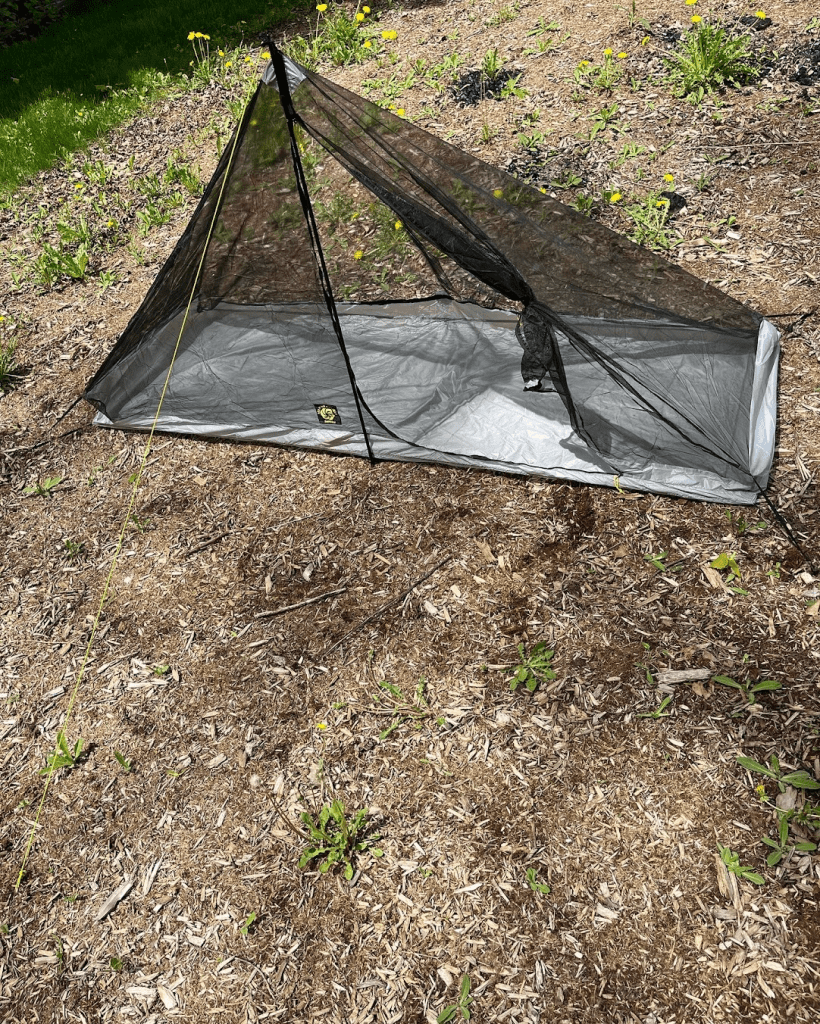
Backpacking Tents: Designed for portability, these tents are lightweight and compact, making them perfect for hikers and backpackers who need to minimize their load.

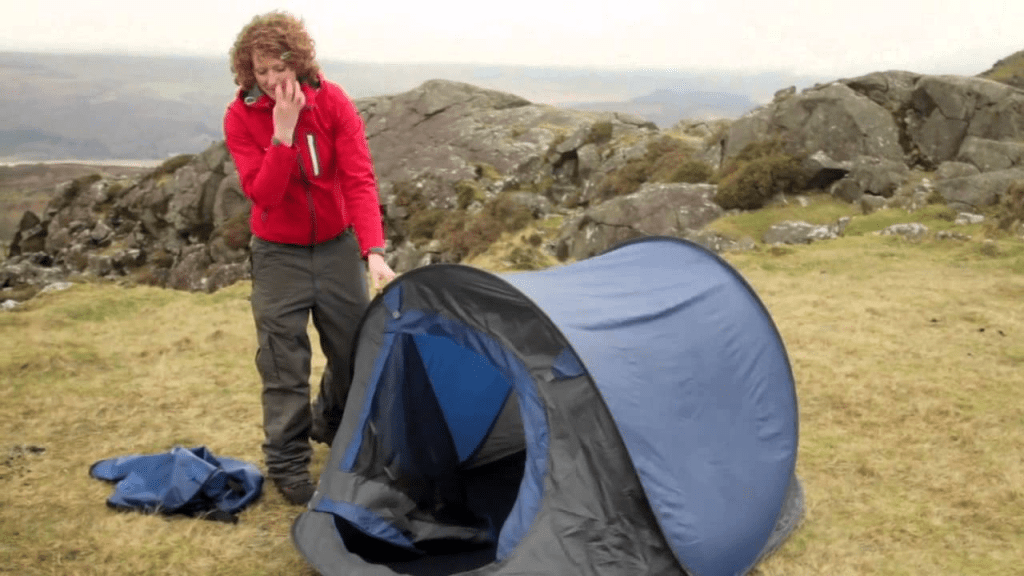
Pop-Up Tents: These tents are incredibly easy to set up, as they “pop” into shape almost automatically. They’re great for casual camping or quick trips.
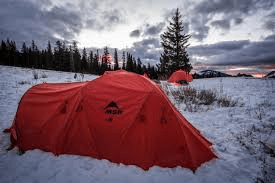
Four-Season Tents: Built to withstand harsh weather conditions, four-season tents are durable and sometimes even insulated, making them suitable for winter camping or high-altitude adventures.
Screen Tents: These tents are designed for use in warmer weather and offer protection from insects while providing ventilation and shade.
Hot Tent: A hot tent is a specialized winter tent designed for use with a portable stove or heater, featuring insulation, a stove jack, and ventilation to keep you warm in cold weather.
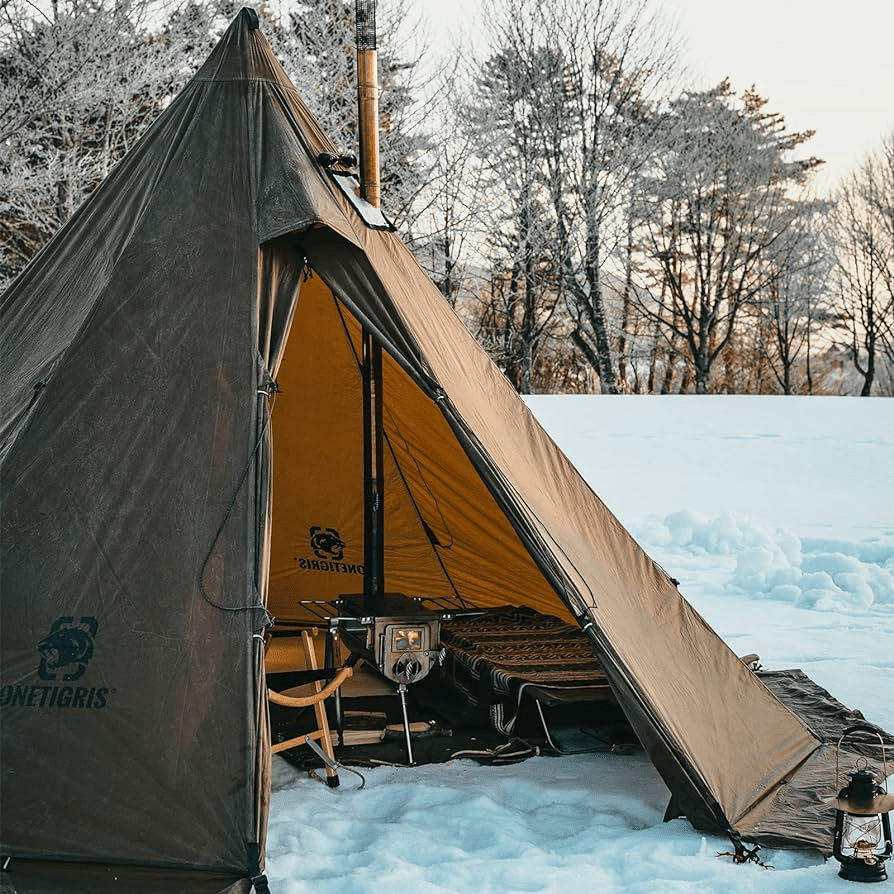
A-Frame Tents: A-frame tents are characterized by their triangular shape and sturdy frame, providing excellent stability and wind resistance while offering a simple, classic design.

Each tent type has its unique advantages, so consider your camping style, environment, and the size of your group when selecting the perfect tent for your next adventure.
4. Check for Discounts and Deals
Find ways to save:
- Look for seasonal sales
- Check for bulk purchase discounts
- Explore second-hand options or donations
5. Seek Approval and Funding
Present your findings to your unit’s committee or treasurer:
- Discuss the tent options and their features
- Explore funding sources such as unit funds, fundraising, or grants
6. Purchase Tents
Once approved:
- Choose the best tent option based on your research and budget
- Place the order online or in-store
- Ensure you understand the warranty and return policy
7. Inventory and Label Tents
After purchase:
- Record each tent in the unit inventory list
- Label tents with the unit name and contact information
8. Plan Tent Maintenance and Storage
To extend the life of your tents:
- Create a maintenance schedule (cleaning, inspections)
- Determine proper storage solutions (dry, cool place)
- Educate unit members on proper tent care and usage
9. Review and Feedback
Post-camping assessment:
- Gather feedback from users
- Assess the performance and durability of the tents
- Make adjustments for future purchases if needed
Conclusion
Purchasing the right tents for your Guiding unit involves careful planning, research, and evaluation. By following this step-by-step guide, you can ensure that your unit is well-prepared for all your outdoor adventures. Happy camping!
